
Hobby and Craft Supplies
 Filters


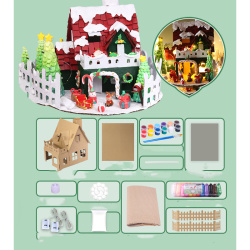
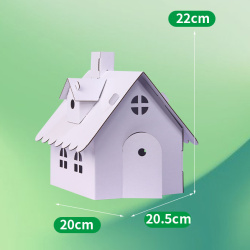
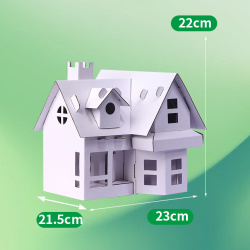
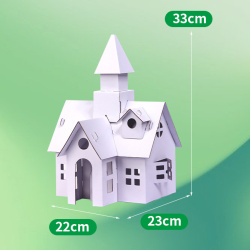
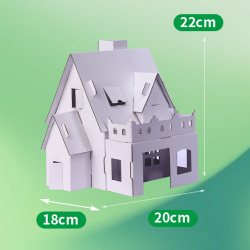
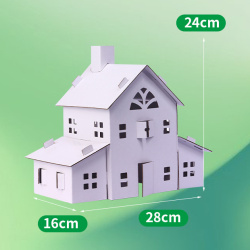
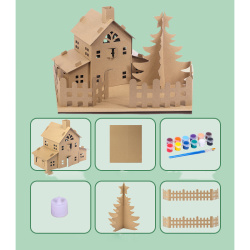
Build-and-Colour Cardboard House Kit with Modelling Clay and Lights, SDXWTZ002

 pack
pack




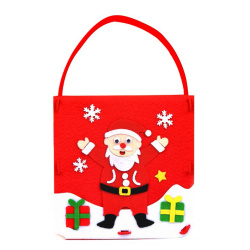
Festive DIY Christmas Felt Bag – Santa Claus Design for Creative Crafting
pack
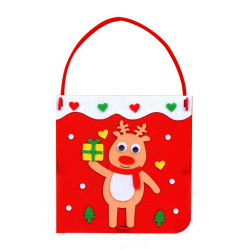
Charming DIY Christmas Felt Bag – Reindeer Design for Creative Crafting
pack
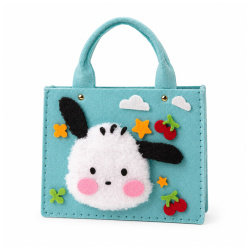
Adorable DIY Children’s Felt Bag with Handles – Blue with Dog Design for Creative Play
pack
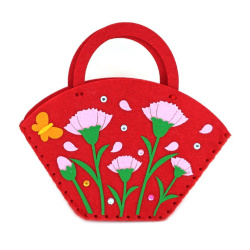
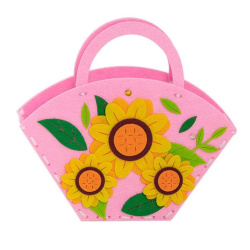
Charming DIY Felt Bag with Flowers – Pink for Creative Crafting
pack
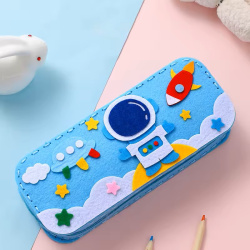
Adventurous DIY Felt Pencil Case – Blue with Astronaut Design for Creative Fun
pack
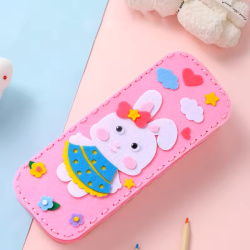
Charming DIY Felt Pencil Case – Pink with Rabbit Design for Creative Fun
pack
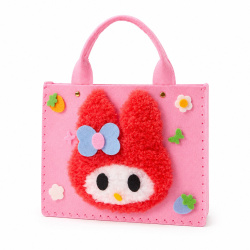
Charming DIY Children’s Felt Bag with Handles – Pink Rabbit with Bow Design for Creative Play
pack
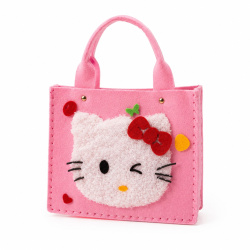
Playful DIY Children’s Felt Bag with Handles – Pink with Winking Cat Design for Creative Play
pack
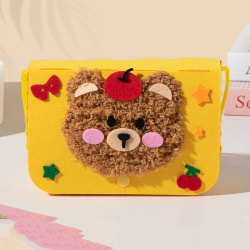
Cheerful DIY Children’s Felt Bag – Yellow with Teddy Bear Design for Fun Crafting
pack
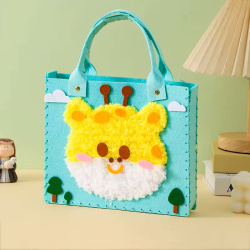
Fun DIY Children’s Felt Bag with Handles – Blue with Giraffe Design for Creative Play
pack
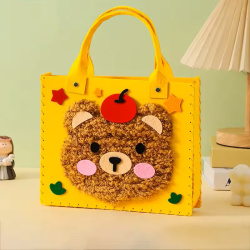
Cheerful DIY Children’s Felt Bag with Handles – Yellow with Teddy Bear Design for Creative Play
pack
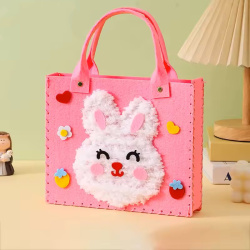
Adorable DIY Children’s Felt Bag with Handles – Pink with Rabbit Design for Creative Fun
pack
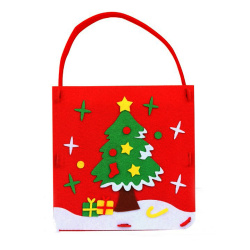
Festive DIY Christmas Felt Bag – Christmas Tree Design for Creative Crafting
pack
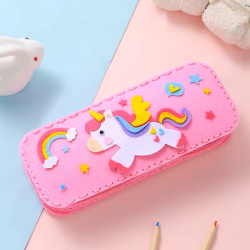
Lovely DIY Felt Pencil Case – Pink with Pony Design for Creative Fun
pack
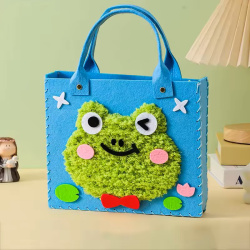
Playful DIY Children’s Felt Bag with Handles – Blue with Frog Design for Creative Play
pack
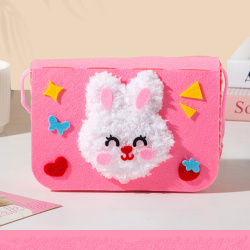
Charming DIY Children’s Felt Bag – Pink with Rabbit Design for Fun Crafting
pack
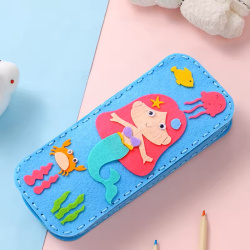
Enchanting DIY Felt Pencil Case – Blue with Mermaid Design for Creative Fun
pack
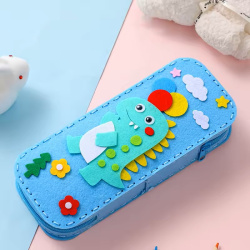
Adventurous DIY Felt Pencil Case – Blue with Dinosaur Design for Creative Fun
pack
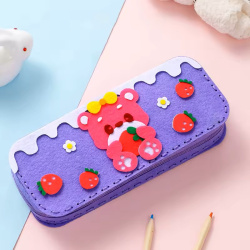
Adorable DIY Felt Pencil Case – Purple with Teddy Bear Design for Creative Fun
pack
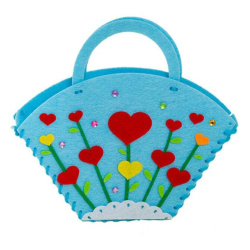
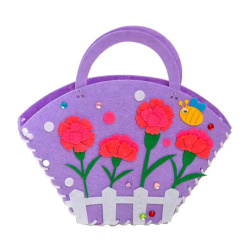
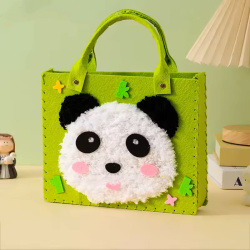
Playful DIY Children’s Felt Bag with Handles – Green with Panda Design for Creative Play
pack
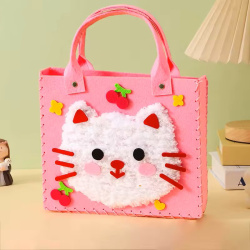
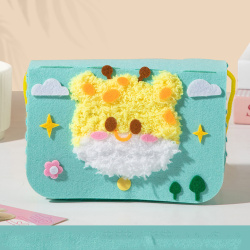
Creative DIY Children’s Felt Bag – Blue with Giraffe Design for Fun Crafting
pack
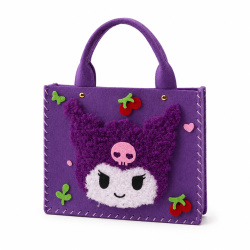
Adorable DIY Children’s Felt Bag with Handles – Purple with Rabbit Design for Creative Play
pack
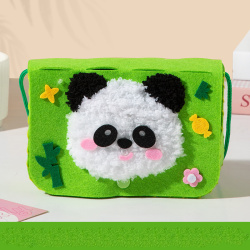
Playful DIY Children’s Felt Bag – Green with Panda Design for Fun Crafting
pack
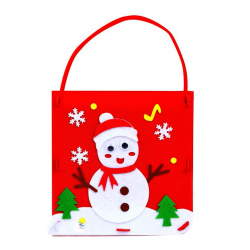
Cheerful DIY Christmas Felt Bag – Snowman Design for Creative Crafting
pack
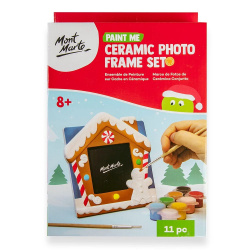
Mont Marte Ceramic Photo Frame for Coloring – “Gingerbread Cookie” – for Creative Holiday Fun
pack
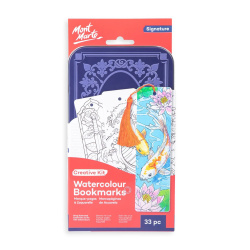
Creative Mont Marte Watercolor Bookmark Making Kit – 33 Pieces, Inspiring Set for Handmade Bookmarks
pack
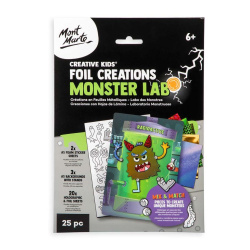
Exciting Mont Marte Foil Art Kit – “Radioactive Monster Laboratory” – for Creative Fun
pack
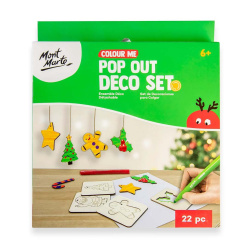
Festive Mont Marte Pop-Up Christmas Decorations for Coloring – for Creative Holiday Fun
pack
In EM ART’s Hobby and Craft Tools category, you will find all the materials you need to bring every creative idea to life!
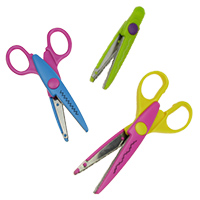
Clay, modeling clay, decorator elements, curly scissors, silicone bands for weaving, silicone molds, origami, colored sand, and materials for making candles and soaps are just a small part of our extensive collection of hobby items.
Take a closer look at our materials and how to use them in your projects.
Clay and Modeling Clay
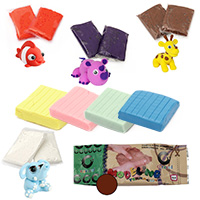
Polymer clay is perhaps the most widely used type of clay nowadays, especially among applied arts lovers. This is because it is straightforward and pleasant to use. It dries off quickly, hardens in the air, and doesn’t require baking.
Polymer clay is popular for making jewelry too, as it comes in many colors. If you are a complete beginner, you can use various forms and molds to make creating different figures easier.
Polymer clay can also be used to decorate cups. What could be better than surprising someone with a personalized cup, tailored to their profession or hobby? We guarantee you won’t go wrong.
How to Decorate a Cup with Polymer Clay?
Necessary Materials
- Cup
- Polymer clay (white or colored, depending on the type of decoration you are going to make)
- Small rolling pin or pasta machine
- Modeling tools
- Knife
- Sticks
How to do it?
- The most important thing to do before starting to work with polymer clay is to clean your hands. The next step is to knead the clay and use the rolling pin or pasta machine to roll it out, aiming to achieve a piece with a thickness of about 1.5-2 mm.
Next, cut out the elements that you will place on the cup. (again depending on the decoration you will make, determine what shapes you will need)
- To model your figures, use some of the modeling tools. Once you are ready with all the elements, place them on the cup. If you use white clay but want your image to be colorful, you can use pastels to achieve the desired colors.
- Then, using a knife, remove any excess and brush everything to smooth out the details.
- For the finest elements, you can use either tiny pieces of polymer clay or add them with glass paints.
- As we mentioned above, polymer clay usually does not need to be baked, but there are cases where baking is recommended. If yours is such a case, follow the baking instructions on the packaging.
- After the cup has been baked and cooled, use a thin needle to remove the decoration, then glue it to the desired surface. We recommend using epoxy glue as ordinary glues often do not withstand high temperatures. Finally, treat the decoration with glossy or matte varnish for polymer clay.
Bonus: You can also decorate a small spoon or saucer to match the cup with clay elements. This way, you will create a complete set and achieve a perfect gift.
Origami
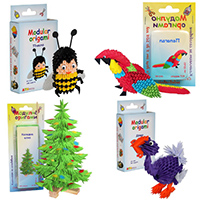
Origami is an ancient Japanese art that involves creating figures by folding paper, without using scissors or glue.
To make an origami figure, you will need sheets of paper in different colors and sizes. The paper should be durable to withstand all the folding.
Working with clay is one of the most useful and educational especially for children, as it teaches patience and inventiveness and cultivates precision. Origami art is not only for children - people of all ages can enjoy it and learn patience by practicing this ancient art! Pick up this wonderful hobby and relax from a stressful day at work.
On EM ART you will find various modular sets, as well as sets in different colors of sheets, paper, and plastic straws that you can also include in your projects. We have all the essential materials for your creative ideas and projects, suitable for both beginners and professionals.
Silicone Forms and Molds
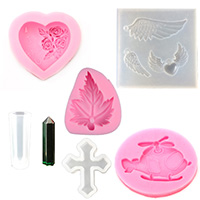
Silicone molds and molds are extremely convenient and easy to use. You place the material you want, bake it, and then easily remove it from the mold by gently bending it. Wait for it to cool first to avoid burns.
You can use them with various materials, from decorator, clay, and epoxy resin, to food products, for making delicious muffins.
Pour different figures from decorative clay or plaster and then decorate your cards, invitations, notebooks, diaries, albums, or picture frames. You will get an original and expensive-looking effect.
Impress your relatives and friends with handmade soap using our silicone molds and materials for candles and soaps.
All you need to do is make a special mixture, then add essential oil, herbs, or finely crushed shells (if you want to achieve an exfoliation effect) and place it in the mold you desire. Once the soap has hardened enough, it is ready to go. Put it in a beautiful package and you have the perfect homemade present!
Silicone molds also come in handy in the kitchen. You can both bake and freeze different products in them. One of the greatest advantages of these molds is that they prevent the product from sticking, making removal very easy. You can make homemade and healthy chocolate, candies, or lollipops.
How to Make a Candle at Home for Beginners
Necessary materials
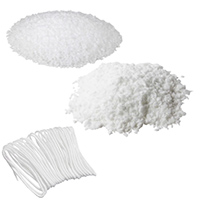
- Old candle or paraffin
- Candle mold
- Cotton wick
- Container for melting the paraffin
- Essential oil (mint, lavender, orange, or another of your choice)
- Paraffin dye (if you want your candle to be colored)
- Thermometer for liquids
How to do it?
- The first step to making a candle at home is to melt the old candle or paraffin in a water bath. Be very careful and don’t leave it unattended.
After the paraffin has melted, remove it from the heat and add the paraffin dye. Stir thoroughly. Let it cool, monitoring the temperature with the thermometer. It needs to be lowered to about 60-70 degrees.
- In the meantime, carefully attach the wick to the bottom of the container or mold you will use.
- Once the paraffin has reached the required temperature, add about 15 drops of your chosen essential oil. The paraffin must reach the indicated temperature before you add the oil; otherwise, its scent will evaporate.
- The next step is to pour the finished candle into the chosen mold. To keep the wick in place, wrap the top part around a stick or wooden skewer, which you leave on top of the mold.
It needs to stretch. Do this slowly and carefully, then let the finished candle rest.To decorate your candle, add elements like dried flowers, glitter, sequins, or anything else that comes to mind in the mixture or alternate layers of paraffin mixture.
- Wait for the candle to cool off for 24 hours before lighting it. Don’t cool it too abruptly, this may cause it to crack.
- Once the recommended cooling time has passed, trim the excess wick, leaving no more than 1-2 cm above the candle.
All candles made from natural materials and pure essential oils are good for your health and the environment. Essential oils can help you relax, relieve stress and tension and even energize you.
Some Ideas for Scenting Candles:
- For relaxation and complete rest – lavender, frankincense, orange
- For refreshment and energy – lemon, basil, mint, cinnamon
- For better mood – jasmine, grapefruit, bergamot
- For cold or headache – pine, eucalyptus, rosemary
- As an aphrodisiac – vanilla, ylang-ylang
- For better memory and concentration – lemon, jasmine, bay leaf
- For better breathing – mint, eucalyptus, black pepper, lavender
For the hot summer days, you can make ice in different shapes to surprise your children or friends at a gathering.
Colored Sand for Drawing and Arranging
Sand is a fascinating natural material. Did you know it is also used in applied arts?
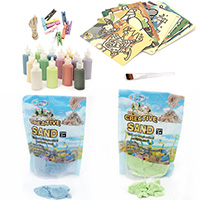
You can use colored sand for drawing and coloring, as well as for decorating various objects and surfaces, and even creating true works of art in glasses, jars, or bottles.
Ideas for Decoration with Colored Sand
- Drawing or Coloring with Colored Sand – is completely safe for children. Choose a picture you want to color or make one yourself. Then cover the entire area with glue and carefully start sprinkling with the chosen sand.
Continue this way until you cover the entire picture with sand. Then, remove the excess sand that has not stuck.
Let it dry, then spray with hairspray to secure the sand. Store the sand picture in a bag or office pocket to prevent the sand grains from coming off.
- Creating Pictures in Different Containers – For this purpose, you can use glasses, jars, bottles, vases, and any other transparent glass container you want. Start by choosing the colors of sand you want to be in your decoration. Sprinkle them one over another in a specific sequence.
You can add beads, shells, stones, leaves, and sequins between different layers.
If the item you are creating the decoration in has a wider opening, you can place a candle inside and use it as a candle holder. Or fill it only halfway with sand and add dry or artificial flowers to create a beautiful and colorful vase.
Here’s Another Option for Decoration with Colored Sand
Since sand itself reminds us of the sea and summer, you can use it to make a summer-themed decoration. In a glass bottle, add different shades of blue colored with some shells, clams, stones, and other sea treasures you found on the beach.
You can also decorate a transparent cylindrical container to fill with colored sand and use for storing pencils, crayons, pens, and other similar items, or for makeup brushes.
Rubber Bands for Weaving
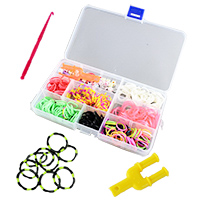
Introducing our rubber bands for weaving! They are extremely durable and come in a wide range of colors.
Some of their most common applications are:
- as a hair accessory
- for weaving bracelets
- necklaces
- keychains
- and more!
How to Weave with Rubber Bands?
The principle of weaving with rubber bands is the same as with standard weaving. They are strung in a specific sequence, and all this is done by hand. Use pencils or clothespins to make the process easier.
Weaving with bands is very easy and does not require special skills. You only need patience and some creativity. This art encourages useful skills in children such as the ability to concentrate, patience, perseverance and fine motor skills.
Looking for high quality hobby materials at affordable prices? Well, you’re in the right place!
Get your hobby and craft essentials at the EM ART store at affordable prices. Find a wide range of materials for every art and craft activity. Browse our extensive selection of drawing materials, papers, craft kits, craft tools, paints and many others. Make your creative dreams a reality with EM ART!